Perhaps you are a teacher and have to sign off all emails to students, parents, and colleagues with your teaching position and other contact information. Or perhaps you are part of the technical support team in your company. Hence, you will need to provide your credentials when replying to inquiries. Regardless, you would find yourself typing the same few lines when sending your emails. To save you a bit of time and effort, this article will teach you how to add an email signature in Gmail to your emails.
See also: How to unsend emails in Gmail
Methods and solutions to take
It takes time to create a well-written email signature. Thus, use a device that you are comfortable with.

Method 1: Using a laptop
- Using your preferred browser, search for Gmail on the web and sign in to your account using your email address and password.
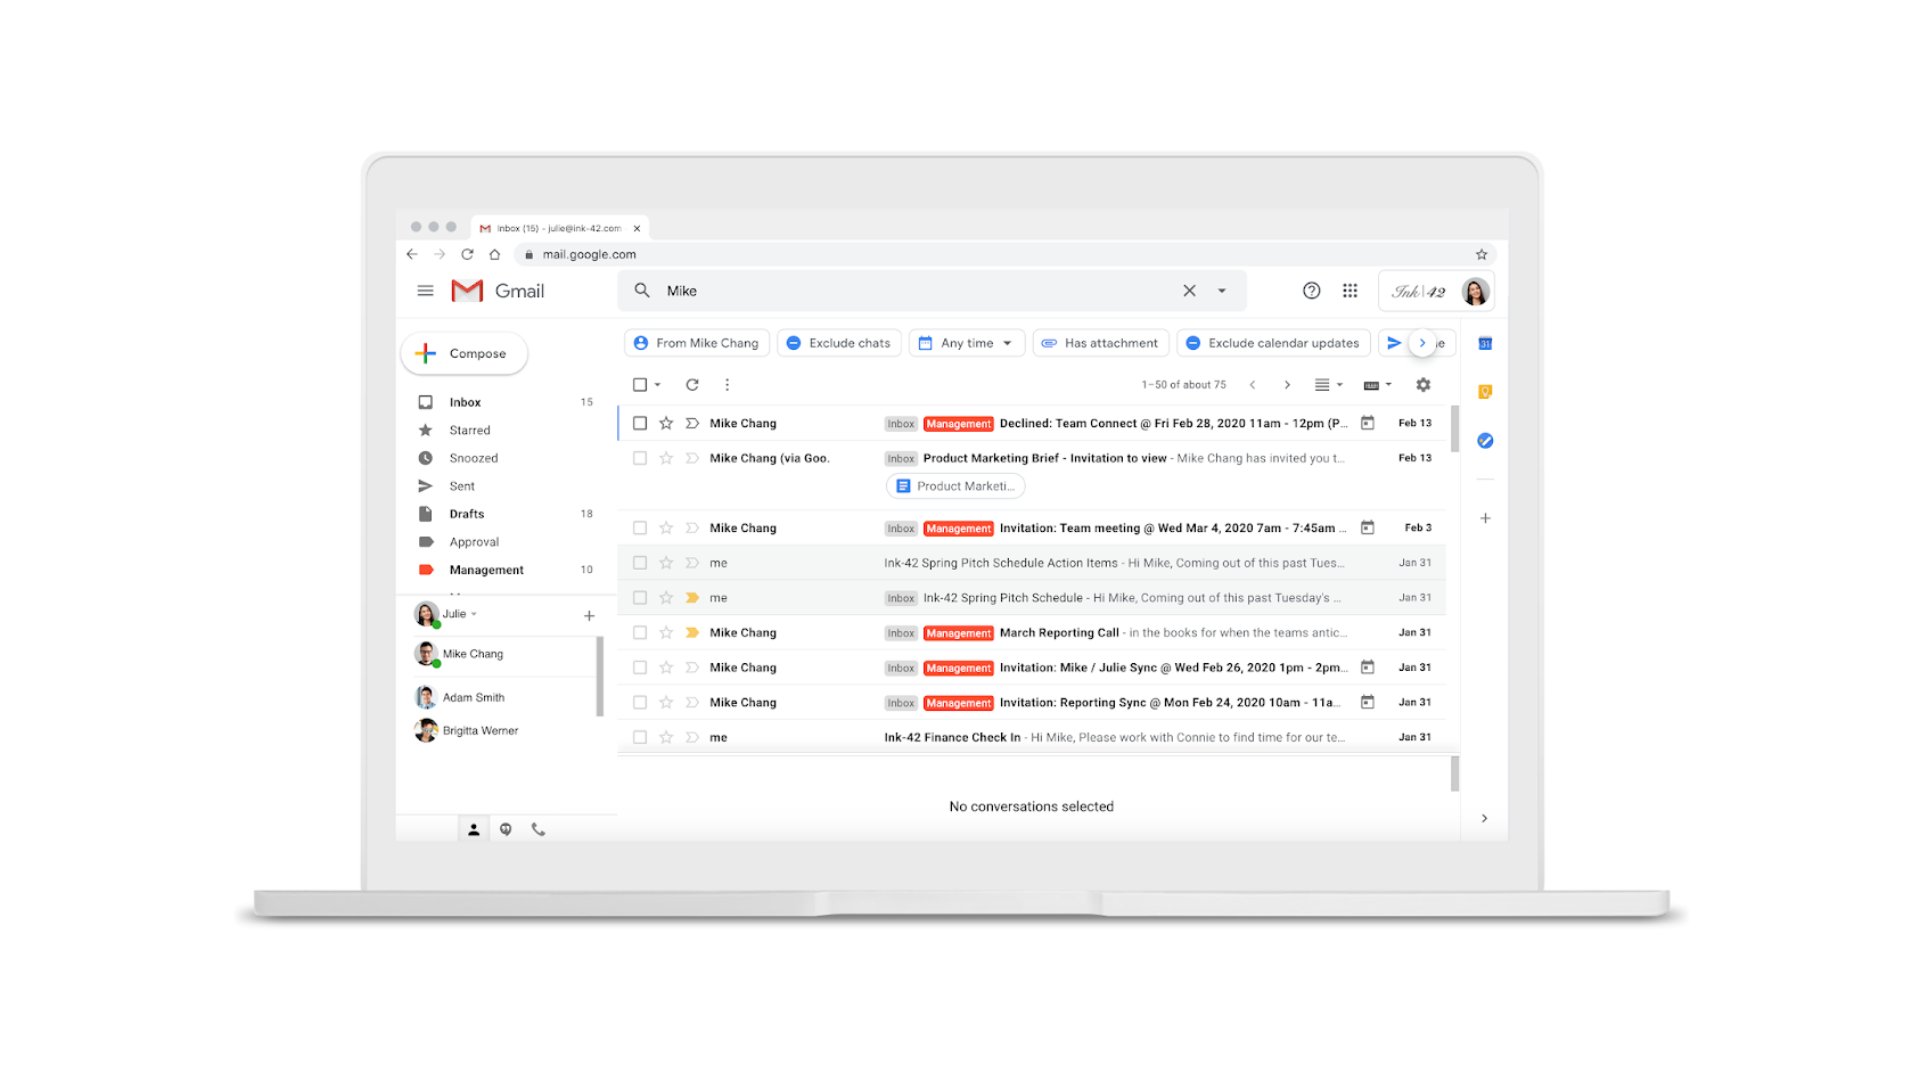
- The page that loads would show the contents of your inbox. Above the list of emails, there should be an icon of cogs on the right-hand side. Click on that icon to reveal a dropdown menu.
- From the drop-down menu, select Settings. This should be the third option from the top, however, this may differ according to your Gmail settings.
- You will be redirected to the settings under the General tab. This tab allows you to make changes to customize your Gmail experience. Scroll down and look for the Signature settings. It should be found toward the bottom of the list. Look out for a large textbox if you have trouble finding it.
- Click on the round button to enable the Signature function.
- In the textbox, start typing out your email signature. Some information you could include in your signature is your name, company and contact details. You can change the font and font size of the text within your email signature.
- To add images, such as company logos or social media icons, click on the Insert Image tool. It is listed by an icon with two mountains. You would need to have the image saved in your device or within your Google Drive. Alternatively, you could provide the website address to search for the image.
- If you want your email signature to appear before the quoted text from the email you are replying to, click on the checkbox below the textbox containing your email signature.
- When you have completed your email signature, scroll to the bottom of the page and click on the save changes button. Always remember this step or the email signature you have created will not be saved.
Method 2: Using a tablet or mobile device
On a mobile device or tablet, you will need to have the Gmail app downloaded. You can download this application from the AppStore or Google Play Store.
- From your device, launch the Gmail application. Sign in to the account that you want to attach the email signature.
- Tap on the Menu. It is represented by an icon with three horizontal lines.
- Select the Settings option from the menu.
- Select the account that you wish to add the email signature. Then, look for Signature Settings.
- After you have selected Signature Settings, enable Mobile Signature.
- From here, you may edit or create your email signature.
- To save on Android devices, tap the Ok button. For iOS devices, tap on the back arrow to save.
Closing advice
While email signatures will help you save a bit of time when writing emails, it is still a good idea to read through them before you send off an email. This will help you determine if the email signature is appropriate for the email you going to send out.

