Windows 10 offers a great experience to its users. You can customize it and make changes to thoroughly enjoy day-to-day usage. You can easily organize your PC, adjust the settings, pin the apps to the taskbar, and do many other things.
Of course, some options are turned on by default, but you can dive into settings and disable the ones you want. If you don’t want Autocorrect enabled (turned on by default), you can easily make changes to disable it. That’s precisely what we are going to show you here. Let’s see how to turn off Autocorrect in Windows 10.
See also: How to change the first day of the week in Windows 10 Calendar.
How to Turn Off Autocorrect in Windows 10
If you just started using Windows 10 without previous experience with this OS, you might need a helping hand initially, which is why we are here.
Some people find Autocorrect useful, and others find this option annoying. If you want to disable it, follow the simple steps listed below:
- Click on the Start button located in the bottom-left corner of the screen
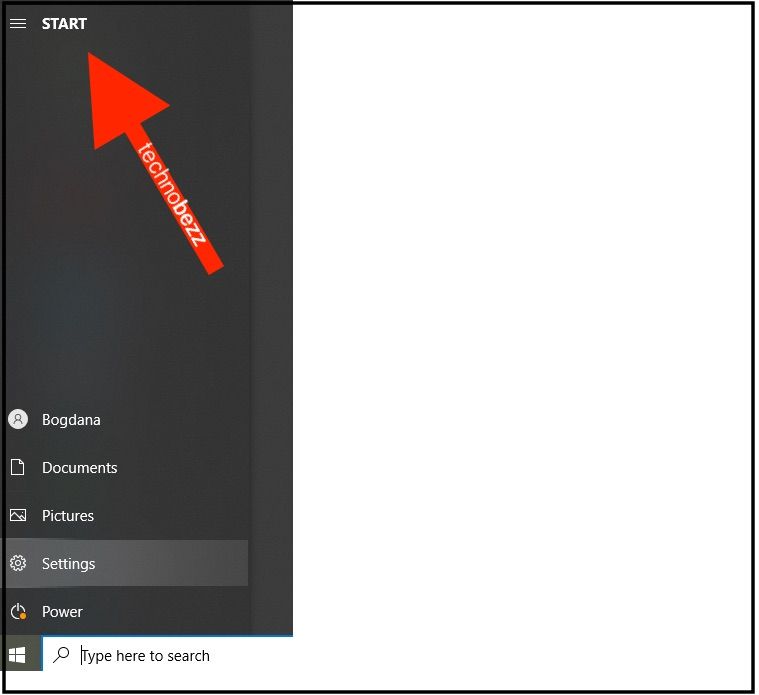
- Now click on the gear icon to access the Settings menu
- In Settings, click Devices

- Next, click Typing
- At the top of the screen, you will see the Spelling section and the option “Autocorrect misspelling words.”
- As you can see, the option is turned on by default
- To turn it off, click on the switch below the option
- You can also choose whether you want misspelled words to be highlighted by clicking on the button below that option
That is all you need to do. Autocorrect is now turned off. If you wish to enable it again, go back to Settings > Devices > Typing and make the required changes.